
I wanted to test detailed inlays and build something my wife would not expect. I am proud of the result and consider it the only piece of 'fine furniture' I've built.

We didn't need an end table but I wanted to try detailed inlays given our new CNC. I started playing with standard images to learn the modeling software and decided to try something so detailed, it would test my patience and stand out. Upon first look, it is obviously not done by hand but that isn't a concern of mine. (Some woodworkers appreciate 1/8" dovetails because they know it wasn't done by a power tool.) This was an excuse to learn the software, machine, and make something my wife wouldn't expect.
Planning

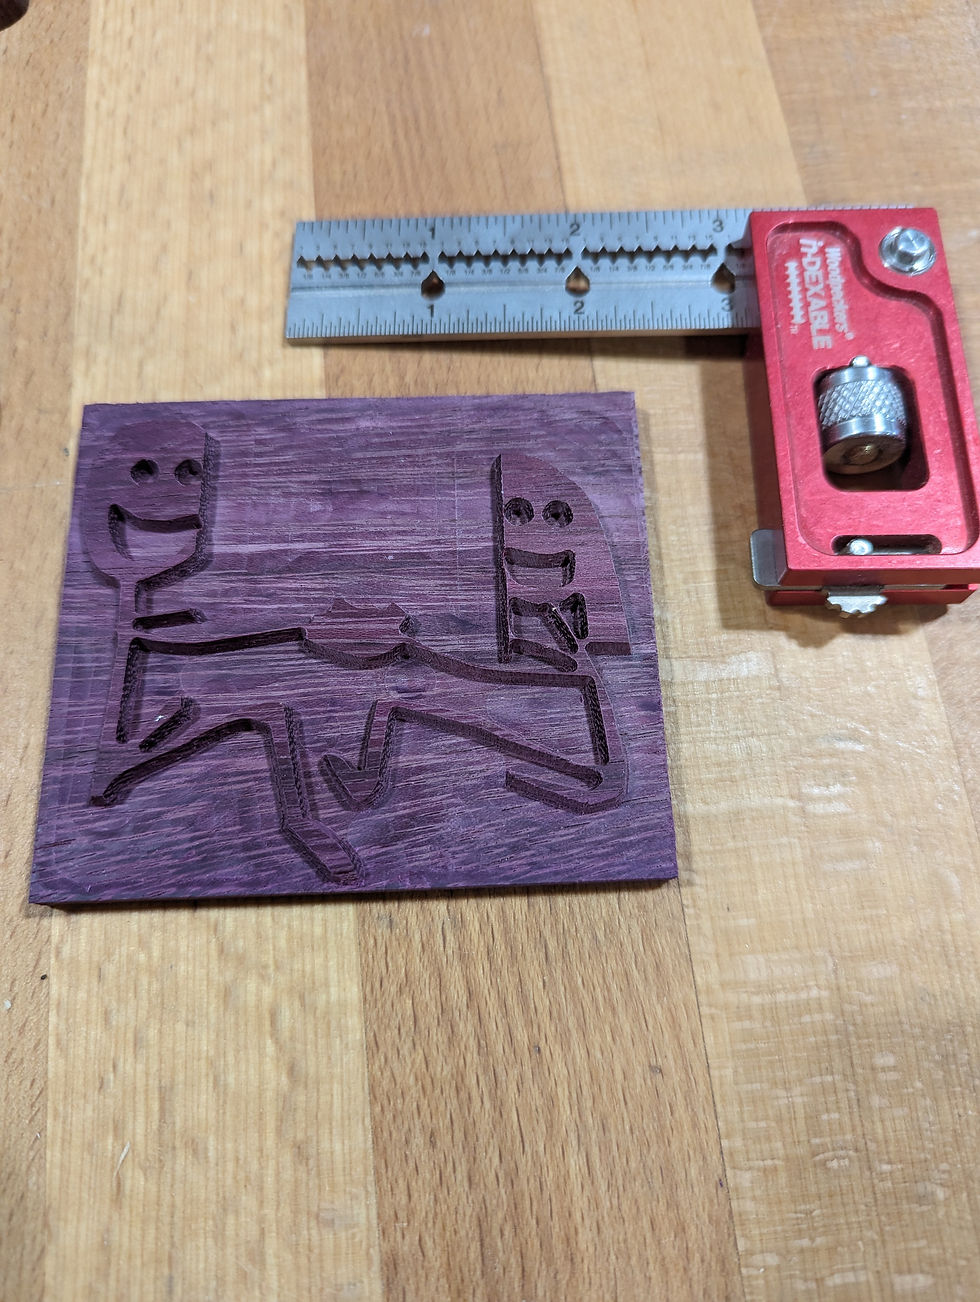
When my wife and I were dating we lived in different states. At work, she would draw me pictures of stick figures and send me photos - this was ~17 years ago. One of a kind - that is what I wanted. I looked through the folder tucked away in our safe and found one that I thought would show well and let me try different types of wood.
I knew softwood frays and does not hold detail well - but thus far I had only tested the CNC on MDF so it was a trial in many things. I chose scrap pieces from an order placed a year prior - Padauk, Purple Heart, and Wenge. I picked up some Maple and Walnut from my local shop and jumped in.
I ordered a 30-degree V-bit - it seemed like a good middle-of-the-road bit based on what I had read regarding inlays. Through the initial attempt, I learned which species held delicate angles, saw firsthand what happens when you lose power with a V-bit and experimented with carving out previous inlays to repair. After trying to repair the top a few times, I glued up a new top and started over. This also involved me ordering a new 30-degree v-bit as the previous one slowly rolled over the table and broke the tip on the concrete.
Such is the way things go sometimes.
New bit in hand and armed with knowledge, the second run was straightforward. Good thing my clientele didn't give me a deadline or even know what I was working on. Tolerances were maintained and each inlay came out great.


As I got close to completing the top, I figured I should try steam-bending and thought that may be a nice touch for the legs. At this point, the table was a beast of a project, so adding something new wasn't too far-fetched (and I didn't have a plan for the legs I liked). I debated building a steaming tube but given the size and width of slats, wood chosen, and scope or project, winged it over the stove which worked out well enough.
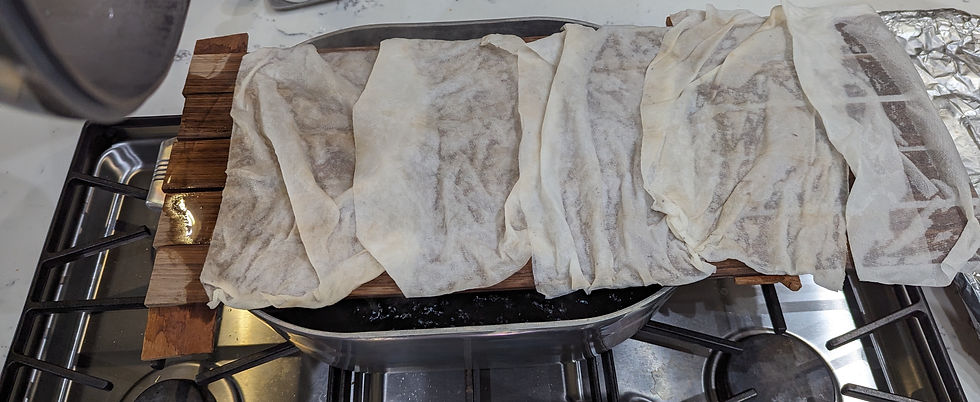
I made a few forms with the CNC in MDF (the best use of a CNC in my opinion) and steamed each up over a giant key pan on the stove. I debated making a steam box but was not looking for something else to store and was unsure how much I would be steaming in the future.


I gave myself enough extra material to have wriggle room and the process was easy enough.
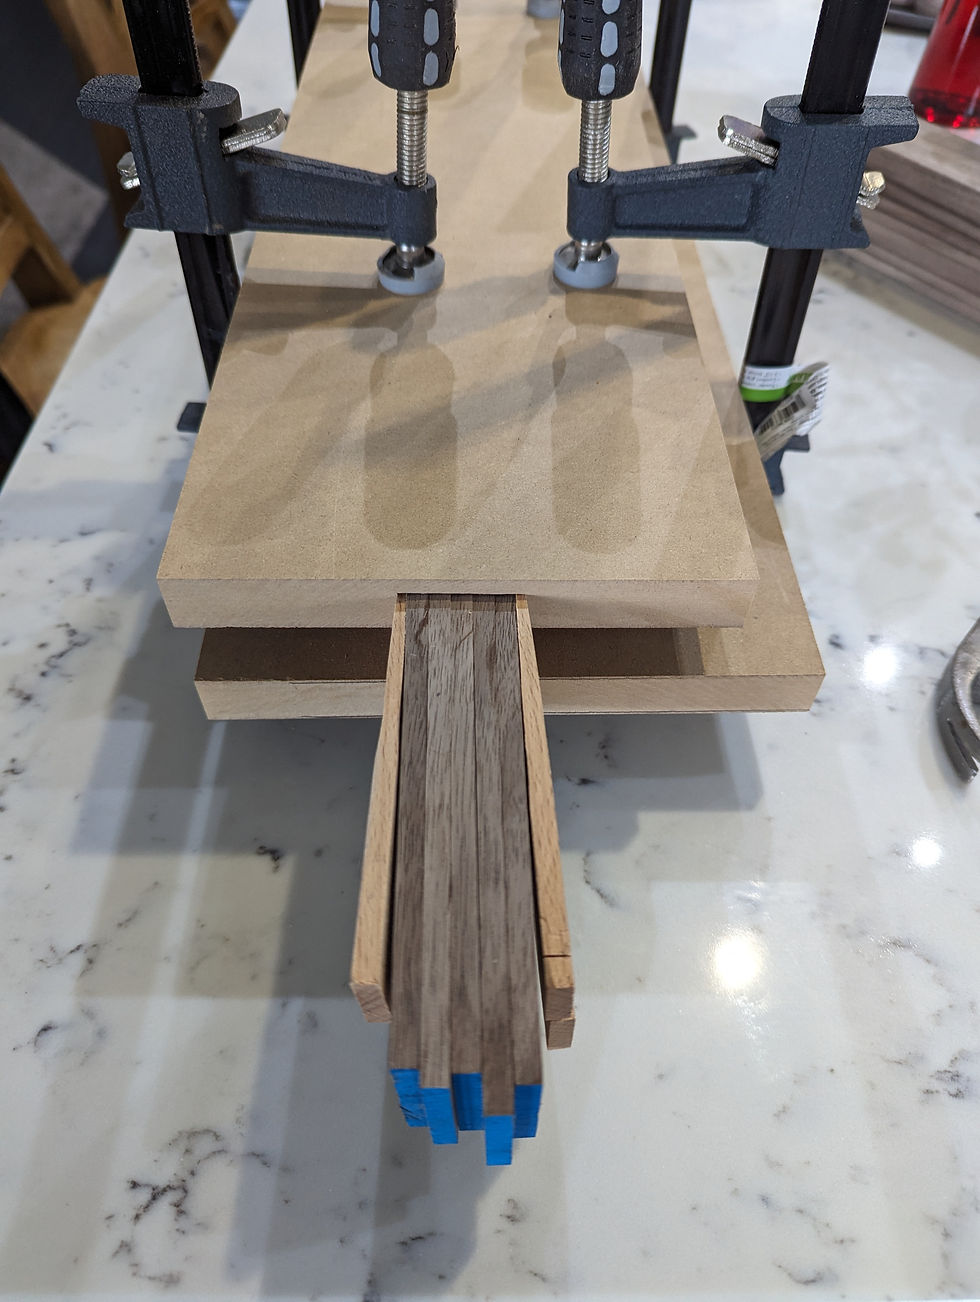
I am happy I tried it and feel they elevate the project.

New Things Tried
Spindle feed speed testing for the CNC (the inlays took a loooong time)
Detailed inlays using different species
Steam-bending wood
Lessons Learned
CNC != easy. Computer drafting from a drawn image took some time and the actual carving time was so much longer than I anticipated. Each small inlay took 30 - 90 minutes. I am sure I could have sped things up but I'm testing and not looking to break bits or cycle through wood. Optimization wasn't a learning objective on this one.
Machines = power issues. I ended up making two complete tops. When carving the first top, the power died after 4 hours in - with a V-bit. I watched as the machine dove through the workpiece. Shit. I cut a plug out of another piece of Maple, sanded a point, and hammered it in. I matched the grain and it looked great. It happened 2 more times. Each patch after the first got worse to where the third showed more glue than wood. I then tried extending the file - carving a bit more and making a new inlay. Over time, the flames were too large and still didn't look right. I also lacked the refined detail I wanted.
Know when to fold 'em. I didn't want to start over (and wait for another bit to arrive) but am happy I did. The second round was much more straightforward.
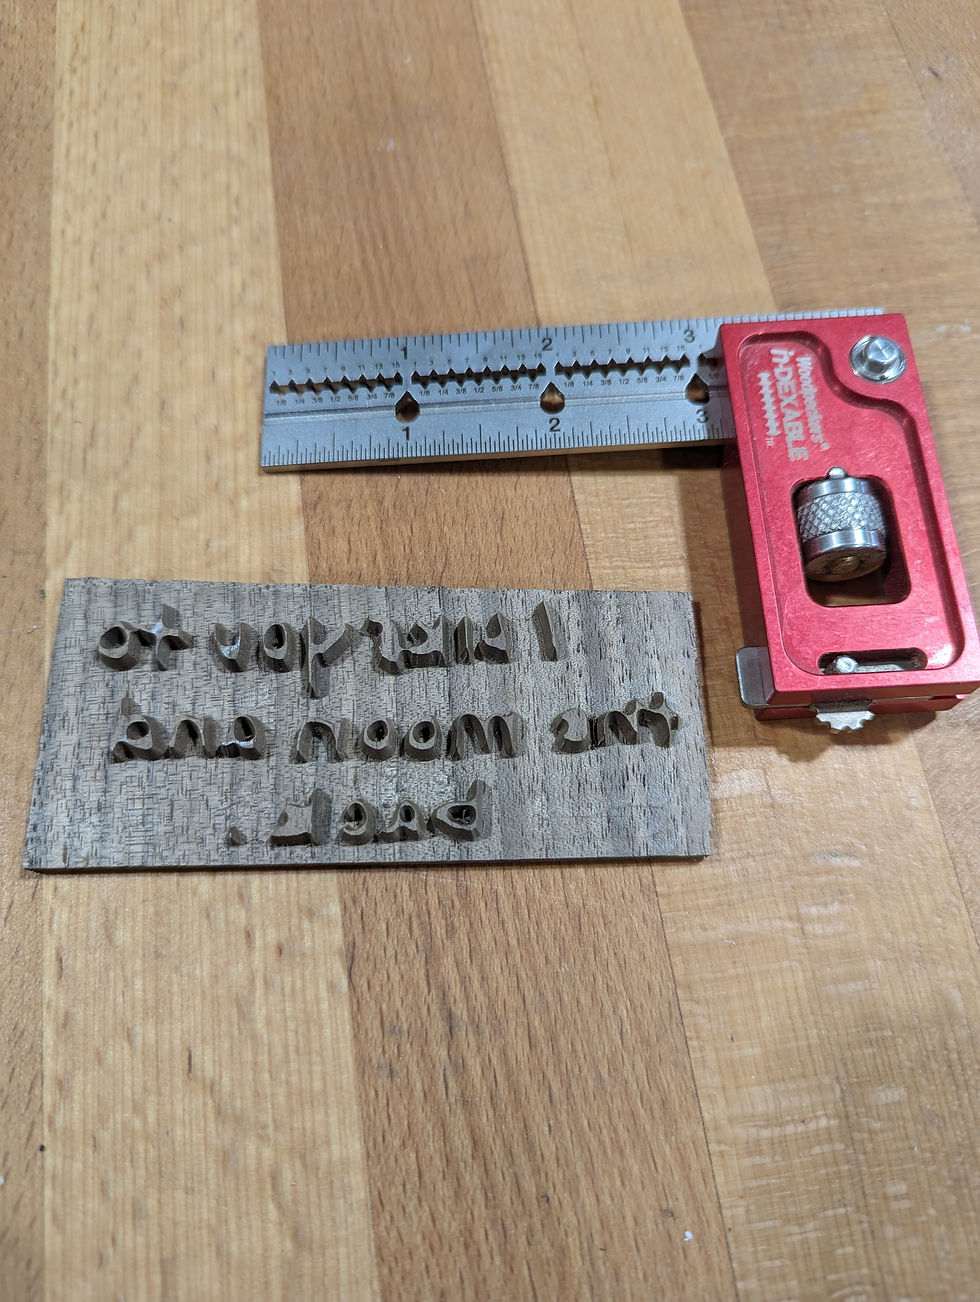
Don't rush and clamp on. For inlays, don't rush gluing - For the first, I tried to put runners across multiple and do several at a time. This was not effective and left several gaps. I ended up carving and gluing the words twice, the first just had too many gaps. I tried to make the boundaries larger and thought any leftover walnut would be hidden. The second pass came out much better. Singular glues-ups were the way to go and each seated much better. Clamps > weights.
Last-minute details can make or break a project. Right before attaching the leg slats, I thought adding a chamfer would show well and emphasize the leg shape. This was a win - eyeballing at the router worked well, the Maple didn't blow out, and I think it is something you see and appreciate without really seeing it.